To create a barcode label, generate the code in the format your receiving system expects, place it on a label with a clear blank margin, and print it at 100 percent scale on the label stock you will really use. The barcode is only half the job. The label also has to survive the printer, the paper, the way it is applied and the scanner that reads it later. This guide shows the steps, starting with our free barcode generator.
Most labels that fail at the dock or the till do not fail because the code is wrong. They fail because the printer scaled the image, the margin was cut off during design, or the wrong format was chosen for the job. Each of those problems can be found with a short test before a full run, so the steps below put the test before the production print.
Decide what the label must contain
Before you open any tool, write down what the label is for. A product label, a carton label and a shelf location label carry different information, and the code should match the job. Scanning is faster when the person scanning does not have to read the text to know what they have.
| Label type | What to include | Usual format |
|---|---|---|
| Product shelf label | Product name, the barcode with its number, and the unit | EAN-13 or UPC-A |
| Carton or case label | Outer product code, quantity per case and a batch reference | ITF-14 or Code 128 |
| Shelf or bin location | The location code in large text, with the barcode beneath it | Code 128 |
| Internal reference | The reference number and a short description | Code 128 or Code 39 |
Keep the text short. A label that tries to carry a full product description will be cramped, and the blank margin around the barcode is the first thing that gets squeezed.
Step by step: generate and print a barcode label
- Generate the code. Open the barcode generator, choose the format under Barcode format, and enter the value. For retail products use EAN-13 with a genuine number. For internal labels use Code 128, which accepts letters, digits and symbols.
- Set the size. Choose the bar width from 1 to 4 pixels and the height from 30 to 250 pixels. Start with the defaults of 2 and 100, then judge the proportions on the preview, because the label space decides how wide the code can be.
- Set the look. Keep Bar colour at #000000 and Background colour at #ffffff. Turn on Show the value under the bars if people will read the number, and turn it off if the label is for a scanner only.
- Download as SVG. Use Download SVG for labels, because the file stays sharp when your label software scales it. Use Download PNG only for a screen or a document.
- Place it on the label. Put the code in your label design, leave the quiet zone on both sides, and add the text in the space outside it. Do not place any text or line inside the blank margin.
- Print at 100 percent. Turn off Fit to page and any scaling options in the print dialogue. Set the paper or label size to match the stock.
- Test a sample. Print one label, scan it with the device that will read it, and check the result before you print a run.
Set the printer so the code is not scaled
Scaling is the most common cause of unreadable labels. A printer that quietly reduces the page by a few percent changes the widths of the bars, and a scanner that expects one width may read another. Check the settings each time you change the label stock, the driver or the computer.
| Setting | Correct for barcode labels | What goes wrong with the wrong setting |
|---|---|---|
| Scale or zoom | 100 percent or actual size | Bars change width and the code may not scan |
| Fit to page | Off | The printer resizes the label to fit its paper |
| Label size | Matches the stock and the design | The margin is clipped or the code moves off the label |
| Print quality | Set for the label stock in use | Bars look grey, blur or fill in |
| Margins in the print dialogue | Zero, with the design holding the margin | Hidden margins are added and the layout shifts |
If the label is printed from a spreadsheet or a word processor, check that the program does not resize the image when you paste it. Insert the SVG as an image at its real size, then confirm the dimensions in the properties before printing.
Choose label stock for the environment
The same code can scan well on one label and poorly on another, depending on the material. A label has to stay readable for as long as the product stays in use, which may be a few days in a shop or a year in a warehouse.
- Direct thermal labels need no ribbon, which keeps running costs low, but the print can fade with heat, light and time. They suit short-life labels such as dispatch tickets.
- Thermal transfer labels use a ribbon and last longer, so they suit product labels, carton labels and shelf labels that stay in place.
- Matte paper reduces glare, which helps scanners read the bars when the label is in a bright area.
- Coated or synthetic material resists moisture, oil and abrasion, which matters for cold stores, kitchens and outdoor storage.
Whatever stock you choose, print a sample and leave it in the real conditions for a day before you rely on it. A label that scans on the bench can still fail after a cold night in a store.
Test the scan before the production run
A printed barcode is only correct when a scanner reads it on the first pass. Use a test routine that matches the real process, not a quick check on a phone at your desk.
- Print five sample labels in a row, not just one. The first print can differ from the rest while the printer warms up.
- Scan each sample with the device the receiving team uses, from the angle and distance they would use in practice.
- Apply one label to a real product, carton or shelf edge, and scan it in place. Curved packs and shrink wrap change how the code reads.
- Record the settings that worked, including the scale, label size, stock and printer, so the next run matches.
- Re-test after any change to the printer driver, the ribbon, the label roll or the design of the label.
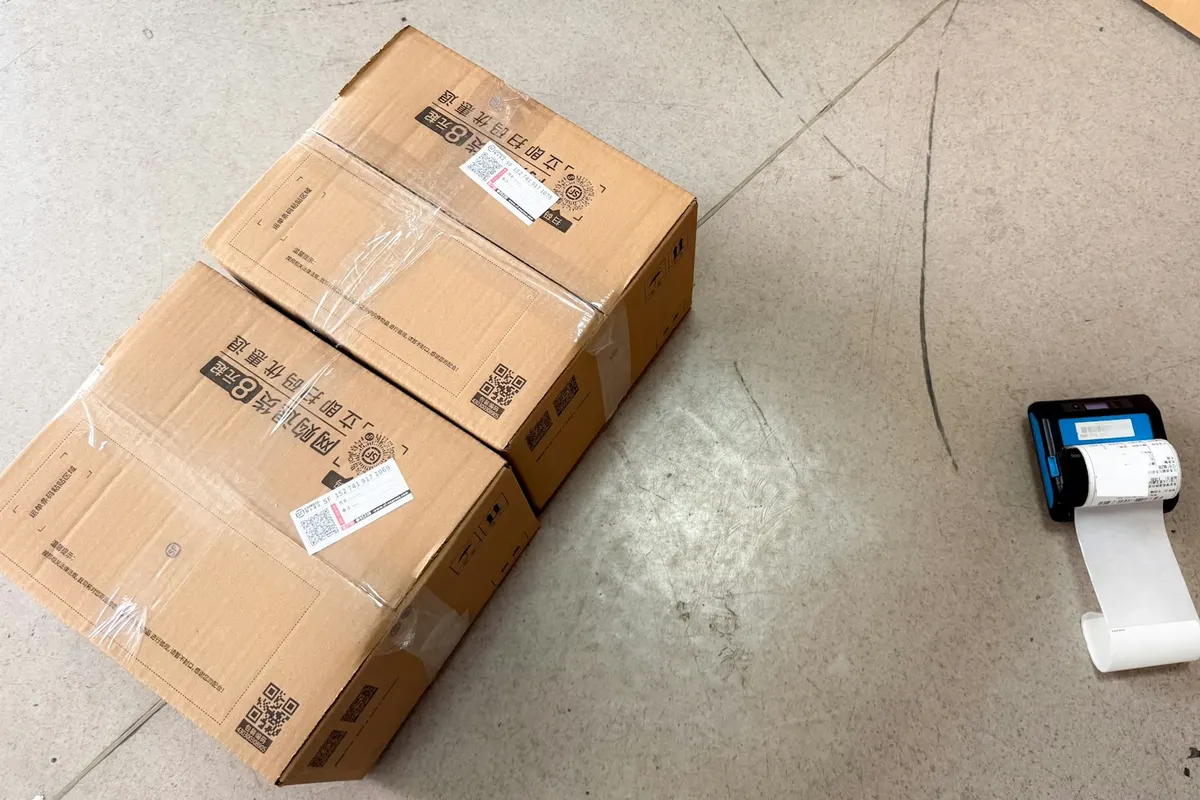
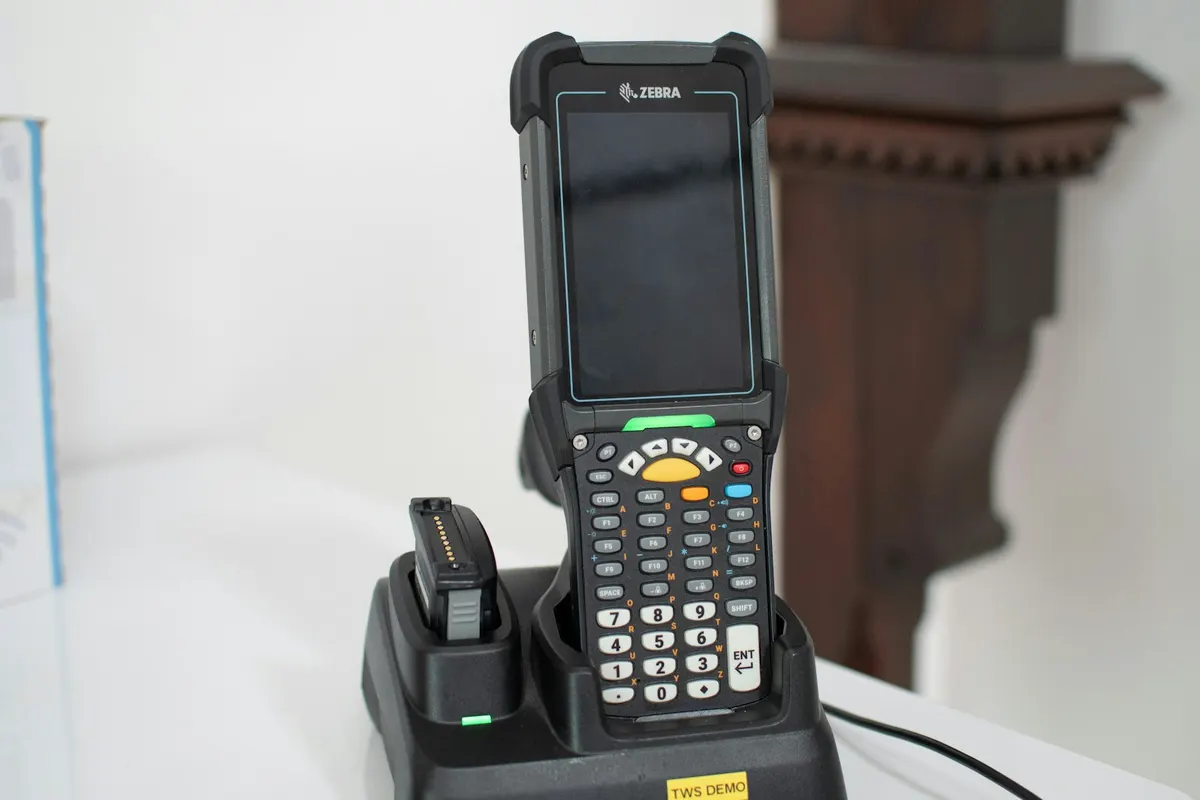
The scanner matters as much as the label. A handheld device in a charging dock, like the one in the photo, is designed for repeated scans in busy work, and a phone camera is useful for a quick check but reads more slowly and is less tolerant of poor contrast.
Common reasons a label does not scan
| Symptom | Likely cause | Fix |
|---|---|---|
| Scanner says the code is invalid | Check digit or length is wrong | Regenerate from the 12 digits and let the tool add the check digit |
| Code scans only from one direction | Label is curved or wrinkled | Use a flatter surface or a stronger adhesive, and keep the code clear of seams |
| Bars look grey or filled in | Print quality or ribbon is worn | Clean the print head and replace the ribbon or stock |
| Code is cut off at the edge | Margin was lost in the design or the print dialogue | Enlarge the label area and set margins to zero in the printer |
| Labels fade in storage | Direct thermal stock in heat or light | Switch to thermal transfer or a more durable material |
Our barcode inventory system guide explains how the scanned labels connect to stock records, and the guide to creating a barcode for a product covers the number and format rules that come before the label. If you also print codes that link to web pages, the QR code generator follows the same print rules for size and margin. All our free tools are on the tools page.
Frequently asked questions
How do I make a barcode label without special software?
Generate the code as an SVG with a free generator, place it in a document or label design at its real size, and print at 100 percent scale. Special label software helps with batch printing and templates, but it is not required for a small run.
What size should a barcode label be?
The size depends on the format and the amount of data. Check the minimum and nominal sizes for the format you are using, keep the quiet zone clear, and avoid shrinking the code to fit a crowded label. If the label has to be small, use a shorter code or a format that holds fewer characters.
Why does my barcode label scan on the computer but not at the till?
The most common reason is that the scanner at the till expects a format or a number that is different from the one on the label. Check the format, the check digit and the number first, then test on the scanner the till uses, because screen scanning and laser scanning are not identical.
Can I print barcode labels on a normal office printer?
You can print a test on a normal printer, but production labels usually need label stock and a thermal printer for consistent results. Office printers are not designed for stock that has to stay on a product through handling.
How often should I test printed labels?
Test each new design, paper, ribbon and printer setting before a run, and test a sample from each batch if the labels are critical, such as for dispatch or traceability. Regular checks catch fading, wear and drift before they cause a shipping error.
Next step
Start with one label type, such as shelf labels for a single product range, and run the full test routine before you print the rest. Once a label scans reliably, record its settings and reuse them. If you need labels connected to purchasing, stock and sales in one system, our custom software team can help, and you can begin from our homepage. Dika Ops also includes barcode scanning in inventory, and you can see how it sits alongside purchasing and finance on the inventory module page.