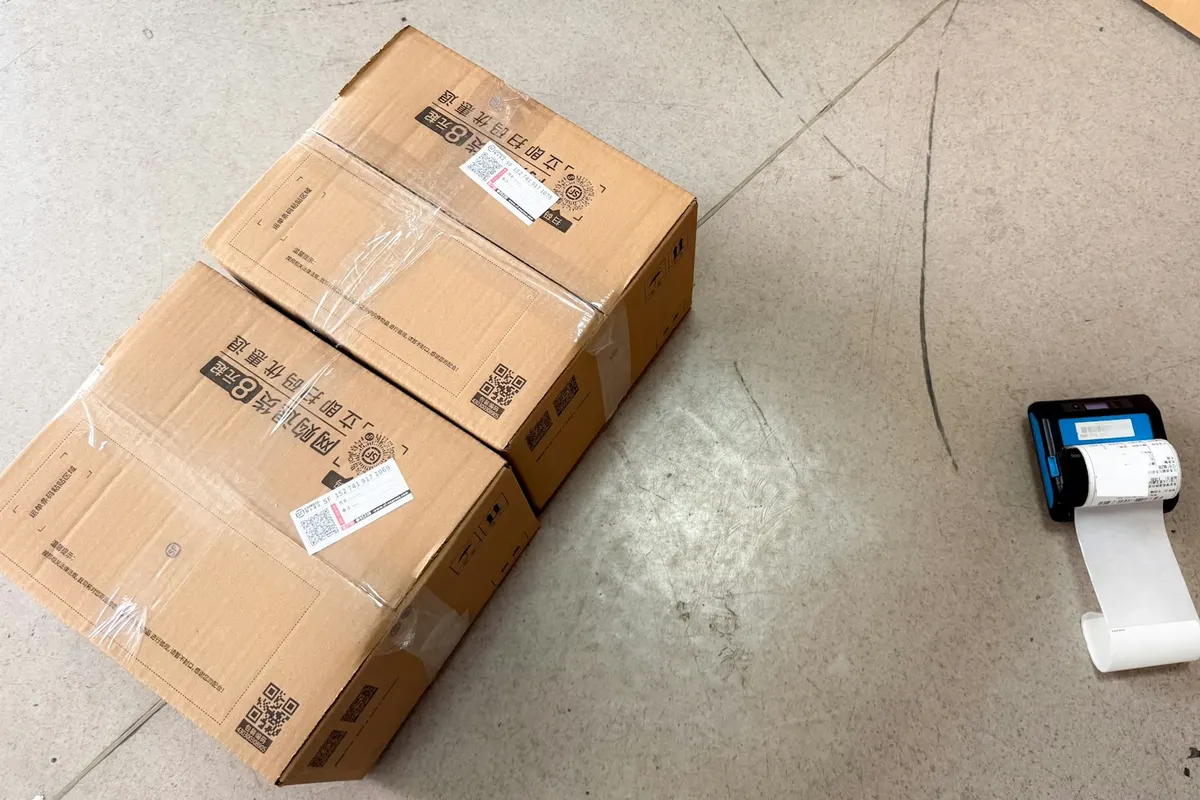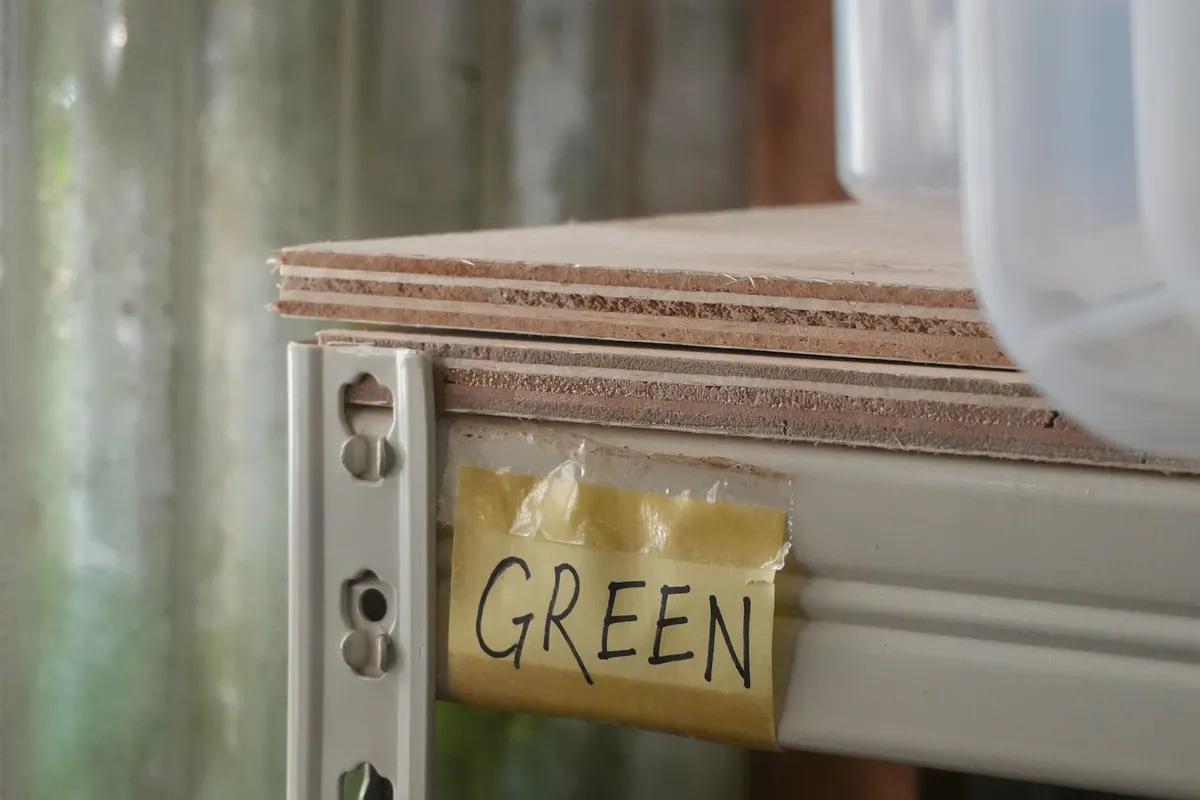
To create a barcode for a location, give every shelf, bin or pallet position a short code that is unique in your warehouse, generate that code in Code 128, and print it with the location name in large text. Put the label where a scanner can reach it without moving stock. The code only works when the location it names exists on the floor, so the coding plan matters as much as the printing.
We use the free barcode generator for this kind of label because it draws Code 128 directly in the browser, shows the value you typed, and exports a file that stays sharp when it is printed at a small size. The steps below cover the code scheme, the generator settings, placement and testing, using one example warehouse.
Plan the location code before you generate anything
A location code is a short address. Anyone on the floor should be able to read it and find the spot, and the scanner should be able to read it without error. The simplest scheme follows the physical layout, from the largest area to the smallest space, with one separator between each level.
In the example below, a warehouse has zones labelled A and B, aisles numbered from 01, racks inside each aisle, levels counted from the floor, and bins on each level. The code A-03-02-B therefore means zone A, aisle 03, rack 02, level B. Write the scheme down in one place and keep it fixed, because a code that changes meaning is the fastest way to send stock to the wrong shelf.
| Part of the code | Example | What it tells the picker |
|---|---|---|
| Zone | A | Which area of the building |
| Aisle | 03 | Which aisle to walk into |
| Rack | 02 | Which upright or rack in that aisle |
| Level | B | Which shelf level, counted from the floor |
| Bin | 1 | The exact container on that level, if you need it |
Keep the codes short, ideally under about twelve characters, so the bars stay wide enough to scan on a small label. Use capital letters only, avoid similar characters such as O and 0 or I and 1 where they can be confused, and do not reuse a code in another zone.
Step by step: generate the location barcode
- Write the list first. Create a spreadsheet with one row per location: the code, the zone, a short description and the stock type it holds. Check it against the layout drawing before you print a single label.
- Choose the format. Open the barcode generator and select Code 128 under Barcode format. Code 128 accepts letters, digits and the hyphen used in the example, so you can print the code as it is written in your list.
- Enter the location code. Type the code exactly as it appears in the list, for example A-03-02-B. Code 128 has no check digit to type, so compare the readout with your list before you download.
- Set the bar width and height. Start with a width of 2 pixels and a height of 100 pixels. For a small label, reduce the width to 1 or raise the height so the code stays clear without shrinking the print.
- Show the value. Keep the option to show the value under the bars turned on. The person scanning can then see the code they have scanned, and a worker who cannot scan can still find the location by reading it.
- Download the SVG. Use Download SVG for labels that will be printed. Use Download PNG only for a screen check.
- Repeat for each location. Change the value, download, and keep the file name equal to the location code, so the printed label and the file can be matched later.
Once the file is made, place it in a label layout with the location name in larger text above the barcode. Do not add anything inside the blank margin around the bars, because a clipped margin is a common reason a scan fails.
Print and place location labels where they can be scanned
A location label is read many times a day, often from a trolley, a forklift or a standing position. Its placement should be chosen for the way the scanner reaches it, not for the look of the rack.
| Position | Where to place the label | Why it matters |
|---|---|---|
| Rack upright | At eye level on the front, facing the aisle | Visible and scannable from the walkway |
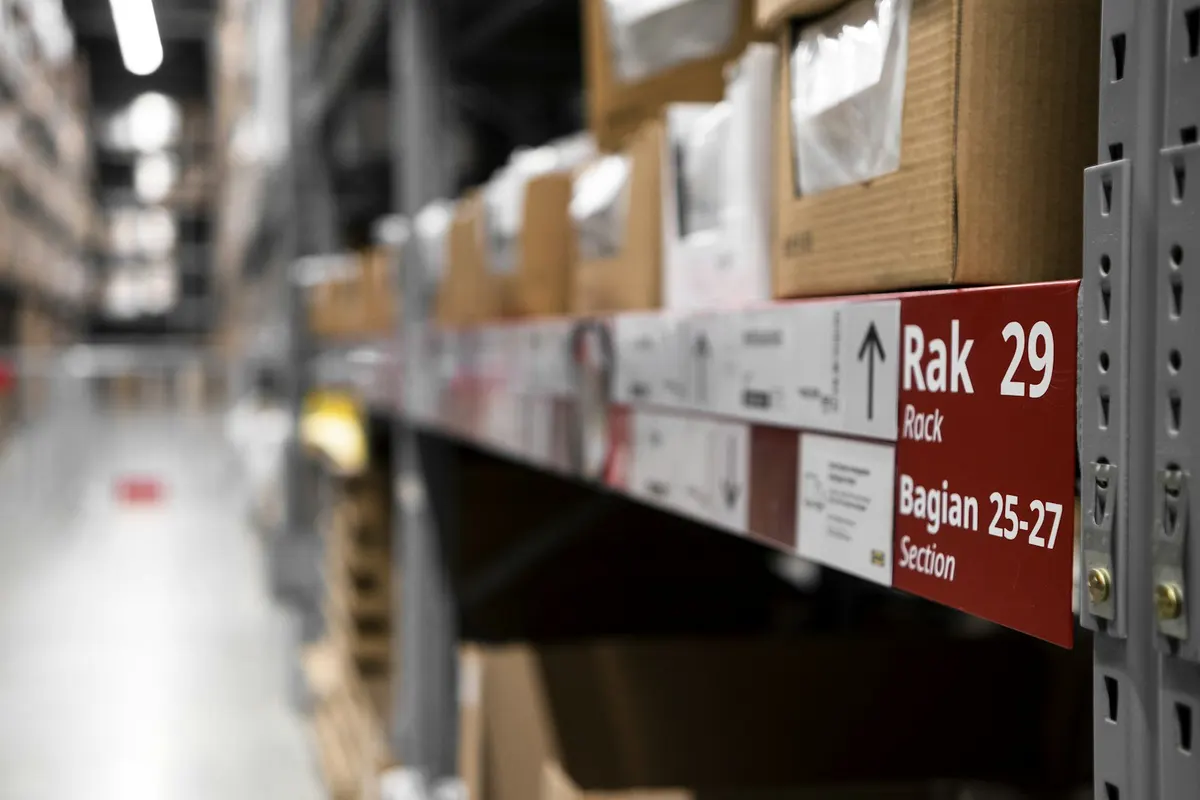
| Shelf edge | On the front lip of each level, one per level | Confirms the level as well as the rack |
| Floor position | On the floor marking for a pallet slot | Pallet positions have no shelf edge, so the floor marking is the reference |
| Bin front | On the front of the bin, clear of the handle | Stays readable when bins are stacked or moved |
Print on label stock rated for the environment, such as a durable synthetic material for damp or cold areas. Use the same label stock across the whole site so the scanners behave consistently. Keep the labels clean, because a dusty or torn label reads as a damaged one.
Test the locations before you rely on them
Scan every new location label once before the stock is moved onto it. A label that is misprinted or stuck on the wrong upright will send a picker to the wrong place, and finding that out during a busy shift is far more expensive than checking it in advance.
- Walk the aisle with the scanner your team uses, not a phone, and scan each new label from the walkway.
- Compare the value on the screen with the location name on the label and the row in your list.
- Check that each rack has one label per level, and that the level labels run in the same order as the list.
- Scan the label from a trolley or ladder position if the picker will work from there.
- Note any location that will not scan, reprint it and fix the placement before you move stock in.
When a location is moved or removed, change the list first and then the label. A relabelled location that still appears in the old list is the usual source of confusion during a count.
Common location labelling mistakes
| Mistake | What happens | Better approach |
|---|---|---|
| Codes that mean different things in different zones | Pickers and counters disagree about the same place | One scheme, written down, used across the building |
| Labels added before the layout is final | Codes are reprinted after every change | Finish the layout drawing, then label it |
| Only one label per rack | Levels cannot be told apart in a count | One label per level, plus the rack label |
| Long descriptive codes | Bars become too narrow for small labels | Short codes, with the description on the list |
| Labels placed where stock hides them | Scans fail or staff move stock to read them | Place labels at scanning height, facing the aisle |
Location codes are the foundation for the rest of the process. The guide to creating a barcode for a product covers the product side of the same system, and the guide to creating a barcode label explains the print settings. Our warehouse layout guide helps you draw the zones before you name them, and the barcode inventory system guide shows how scanned locations link to stock.
Our tools page lists the free tools we publish, including the shipping cost calculator for teams that plan dispatch around their locations. For printed codes that point to web pages, the QR code generator follows the same size and margin rules as the barcode generator.
Frequently asked questions
Which barcode format is best for warehouse locations?
Code 128 is the usual choice because it holds letters, digits and hyphens in a compact form and is widely supported by warehouse scanners. EAN and UPC formats are for retail products and cannot hold letters, so they do not suit location codes.
Should location codes be numbers only?
Numbers only work for small sites, but letters for the zone and level make codes easier to read in a large warehouse. Whichever you choose, keep the scheme consistent and avoid characters that look alike.
How long should a location code be?
Keep it short enough to print at a size the scanner can read, usually under about twelve characters. A short code plus a description in your list is easier to maintain than a long code that tries to describe the location in full.
Can I label locations before I have a warehouse layout?
You can, but the codes will need to change if the layout changes. Draw the zones, aisles and racks first, then assign codes to the finished layout so that the labels stay correct.
What do I do when a location label is damaged?
Reprint it from the same file, using the same code, and replace the old label at once. Check the replacement with the scanner before you move stock, and update the list if the location has changed.
Next step
Pick one zone, draw its aisles and racks, and write the code list for that zone alone. Print, place and test the labels, then repeat for the rest of the building. Once the locations scan reliably, you can link them to stock records so every move is recorded at the right address. If you need that connection built into your warehouse and sales work, our custom software team can help, and you can begin from our homepage. Dika Ops includes barcode scanning in inventory on the same record as purchasing and finance, as described on the inventory module page.