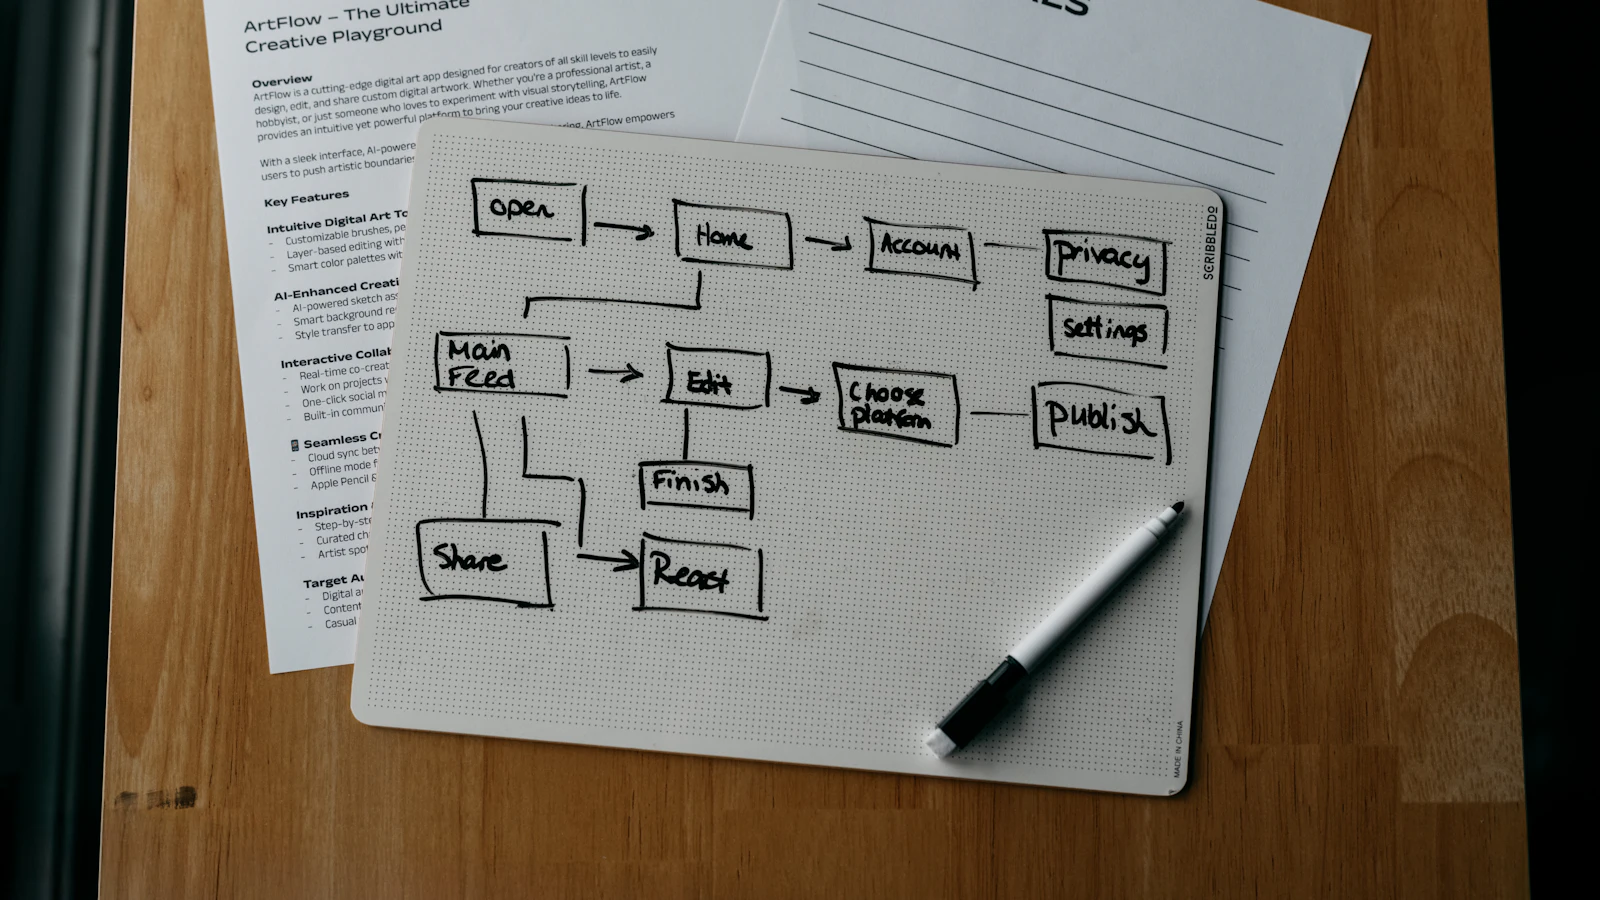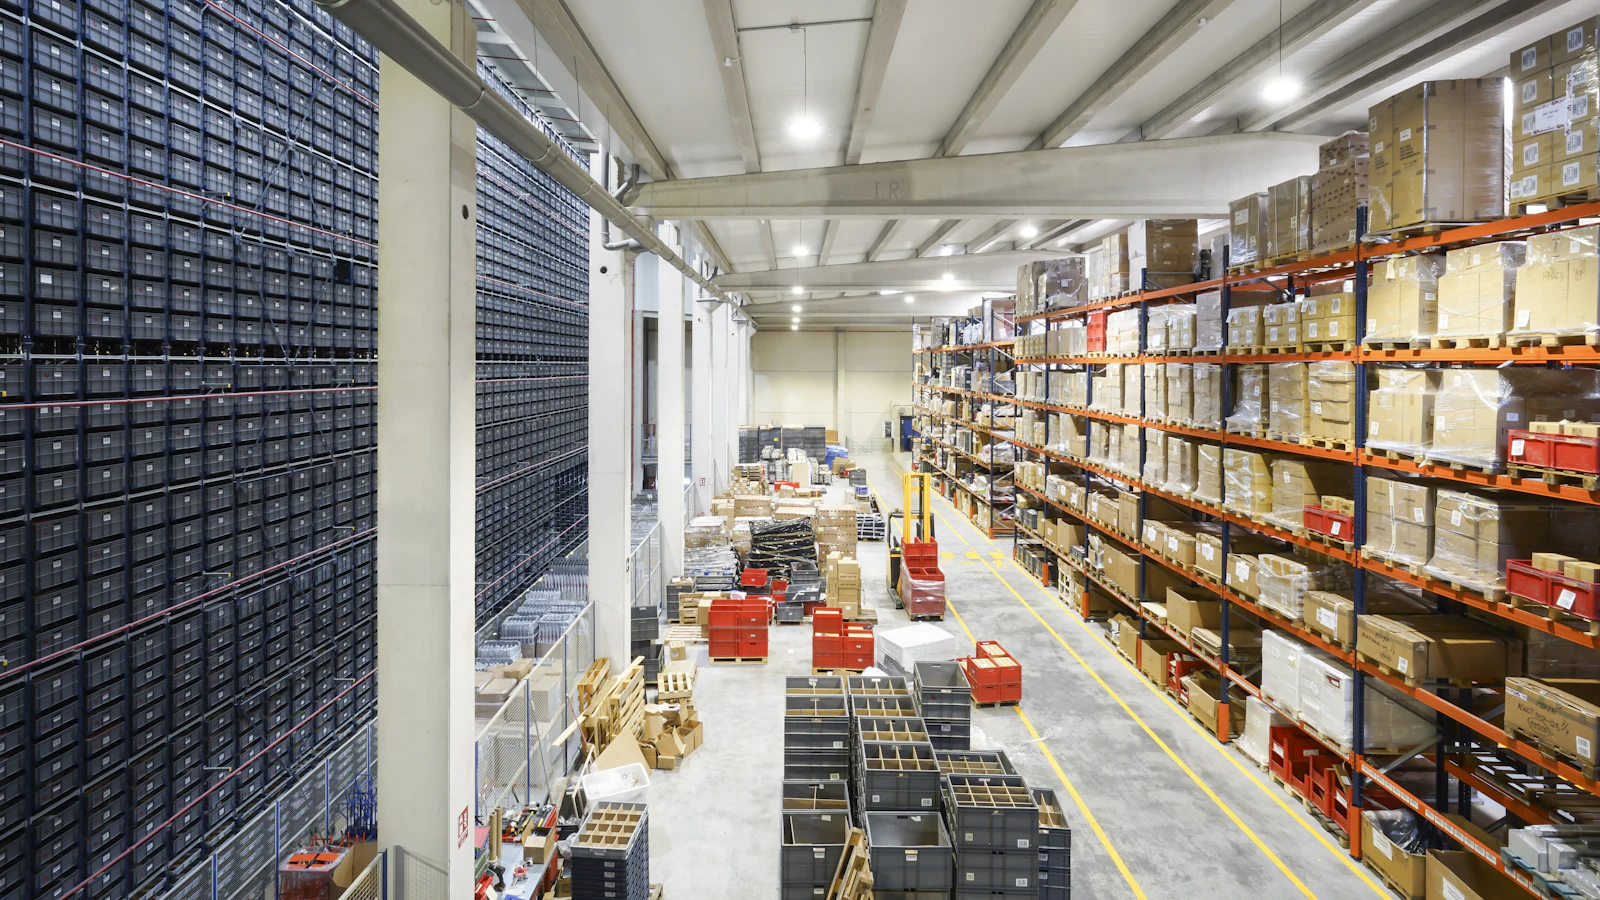
Warehouse layout design is the planning of where receiving, storage, picking, packing and dispatch sit, and how goods and people move between them. A good layout gives goods a one-way flow from the dock to the door, keeps fast-moving products near the pick area and leaves room for the equipment you really use. A poor one makes every order longer, every task harder and every shift more dangerous.
The aim is to reduce the distance travelled and the number of times an item is handled. Walking and searching are the largest share of picking time in many warehouses, so even modest changes to location and flow pay back quickly. This guide sets out the principles, a design method and the details people forget.
The goals of a good layout
- Shorter travel for pickers and trucks.
- Fewer touches per item between receipt and dispatch.
- Safe separation of people and moving equipment.
- Efficient use of floor space and height.
- Easy stock control and counting.
- Flexibility for seasonal peaks and range changes.
These goals sometimes conflict. Dense racking saves space but slows access, and wide aisles help flow but reduce storage. The design is a series of trade-offs based on your own volumes.
The main zones of a warehouse
| Zone | Purpose | Layout tip |
|---|---|---|
| Receiving | Unload, check, label | Space for pallets to wait, near inbound doors |
| Quality or quarantine | Inspect or hold goods | Separate and clearly marked |
| Bulk storage | Reserve stock on pallets | Higher racking, further from dispatch |
| Pick area | Fast-moving items for orders | Closest to packing, at easy reach height |
| Packing | Verify, pack, label | Next to the pick area and outbound |
| Dispatch | Stage and load | Near outbound doors, organised by carrier |
| Returns | Inspect and process returns | Away from clean stock, near receiving |
Choose the flow pattern
The two common shapes are straight-through flow and U-shaped flow. Straight-through puts receiving at one end and dispatch at the other, which suits high volume and keeps traffic one-way. The U shape puts both on the same side of the building, so docks and staff are shared and cross-docking is easy, at the cost of congestion near the doors.
Choose according to your site. Where the building shape, door positions or neighbouring tenants fix the options, design the best flow within them rather than fighting the structure.
Slotting: where each product goes
Slotting is the decision about which bin holds which product. Use your sales data to rank products by how often they are picked, using the ABC logic described in our guide to inventory management methods.
- Place the fastest movers in the pick zone nearest packing, at waist-to-shoulder height.
- Put heavy items low and lighter ones higher.
- Keep items often ordered together close to each other.
- Store slow movers and bulk reserve further away or higher.
- Give each location a unique code and a label that can be scanned.
- Review the slotting each season, since demand moves.
Aisles, racking and equipment
Aisle width follows the equipment. Pedestrian picking needs narrow aisles; counterbalance forklifts need wide ones; reach trucks and very narrow aisle trucks sit between. Check the manufacturer's stated requirements for your trucks, and plan turning space at the ends of aisles and around docks.
Racking should match the load. Selective pallet racking gives access to every pallet, while deeper systems increase density but limit rotation, so they suit uniform products with high volume. Shelving suits small items, and mezzanines add picking floor above the ground.
Use the building height. Vertical space is cheaper than new floor area, provided your equipment, sprinkler clearance and structure allow it. Take advice from a qualified racking supplier, and arrange the required inspections.
Safety, compliance and signage
Layout is a safety decision. Separate pedestrians from trucks with marked walkways and crossings, keep fire exits and extinguishers clear, and make sure racking has load notices and is inspected regularly. In the UK, employers have duties under health and safety law and fire safety rules; your insurer, a competent adviser and the relevant authority can confirm what applies to your site.
Good lighting, floor markings and clear signage reduce errors as well as accidents. Label bays and aisles consistently, so a new starter can find a location without help.
A step-by-step design method
- Collect data: SKUs, dimensions, weights, order lines per day, peak volumes, pallet and parcel mix.
- Draw the current layout to scale and trace the routes a typical order takes.
- Identify the problems: congestion points, long walks, cramped docks.
- Decide the flow pattern and zone positions.
- Size storage to the product mix, and choose racking and aisle widths.
- Slot the products, starting with the top movers.
- Test the plan on paper by following sample orders and measuring distance.
- Move in stages, label as you go and update the system records.
- Measure pick time, accuracy and travel again after a month.
Worked example with assumptions: if a picker walks 6 km a shift and better slotting cuts that by a quarter, the saving is 1.5 km a day per picker. Over a 20-day month for six pickers, that is 180 km less walking, and the time freed can be used to pick more orders.
Layout and your systems
A layout only works if the system knows it. Each bin needs a code in your stock records, so moves are scanned and counted. Our guide to the warehouse management system shows how software directs putaway and picking, and our barcode inventory system article covers the labelling.
We built Dika Ops inventory to hold locations, stock movements and orders on one record; it is in closed beta with a waitlist. For bespoke layouts or tools for a specialised site, our custom software service may help, and our homepage is the place to start.
Common mistakes
Most layout problems come from decisions made once and never revisited, so the list below is worth reading against your current site.
- Designing around the building instead of the order profile.
- Slotting once and never reviewing it.
- Placing popular items in hard-to-reach spots.
- Leaving no room for receiving and staging.
- Mixing pedestrians and trucks without barriers.
- Changing the physical layout without updating the system.
Frequently asked questions
What is the best warehouse layout?
There is no universal best. The right layout follows your product mix, order profile, equipment and building. Straight-through flow suits high volume, while a U shape suits sites where docks and staff are shared.
How do I improve my warehouse layout?
Map the current flows, measure travel and handling, and slot the fastest movers closest to packing. Remove obstacles, label locations and re-measure after the change.
What is warehouse slotting?
Slotting is assigning each product to a storage location based on how fast it sells, its size and weight, and what is ordered with it. Good slotting shortens picking routes.
How wide should warehouse aisles be?
It depends on the equipment, from narrow aisles for pedestrians to wide aisles for counterbalance trucks. Use the truck manufacturer's guidance and allow turning space at the ends.
How much space do I need for a warehouse?
Estimate pallet positions or shelf volume from your stock levels, then add space for receiving, packing, dispatch, aisles and growth. A common error is to size only the storage and forget the working areas.
How often should I review my warehouse layout?
Review slotting at least each season or when the range changes, and the wider layout when volumes or equipment change significantly. Regular small adjustments cost less than a major redesign.
Next step
Take one week of order data, rank your products by pick frequency and check whether the top twenty are where they should be. It is a small exercise that often shows the first improvement to make.